
OPENING QUESTIONS: None Today
LEARNING TARGET: I will begin working on an extended loop program with embedded branches during today's class.
COURSE DOCUMENT: Ver 1.70 is HERE
WORK O' THE DAY:
Please develop the following code *Today*
We're going to create code that counts years from 1 to 2000. Each year will be evaluated to determine whether that year is a leap year:
1) Create a for loop that runs from 1 to 2000 and increments by 1 each time through the loop
2) Apply the following logic to determine whether a specific year is a leap year or not:
- Years divisible by 4 ARE leap years
- Years divisible by 100 are NOT leap years
- Years divisible by 400 ARE leap years
═══════════════════════════
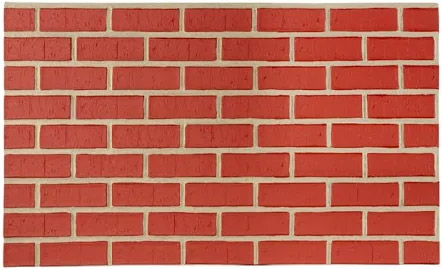
While I'm doing that, please begin work on the 'brick wall' project:
The goal:
To design a program using loops to:
Part 1) Draw a rectangular red 'brick'
- This program should simply draw a red rectangle (don't worry about 'filling') the brick, just the outline of a brick is fine
- The brick size should be about an inch wide and half an inch tall (let's verify)
- Make sure to adhere to all coding practices (your 'cheat sheets' should be in your yellow folders on your desks)
- This program should be named according to our file naming standards with the term "redBrickPart1"
Part 2) Draw a row of bricks
- This program should build on your first red brick program.
- The first 'brick' should be drawn in the lower left hand corner of the screen
- After that brick is drawn, another brick should be drawn immediately to the right of the first brick. They should share the same edge.
- A full row of bricks should be drawn to the edge of your screen
- Make sure to adhere to all coding practices (your 'cheat sheets' should be in your yellow folders on your desks)
- This program should be named according to our file naming standards with the term "redBrickPart2"
3) Draw a wall of bricks.
- This program should build on your row of red bricks program.
- After the first row of bricks is drawn a second row of bricks should be drawn directly over the first row.
- The top line of the lower brick should form the bottom of the next line of bricks
- Your program should draw succeeding rows of bricks that are 'offset' from the row below it such that the bricks above are offset by 1/2 of a brick over from the brick below:
- Make sure to adhere to all coding practices (your 'cheat sheets' should be in your yellow folders on your desks)
- This program should be named according to our file naming standards with the term "redBrickPart3"